Tools: Cuticle scissors, cuticle stick, nail file, "rice dumpling" and Jamberry wraps
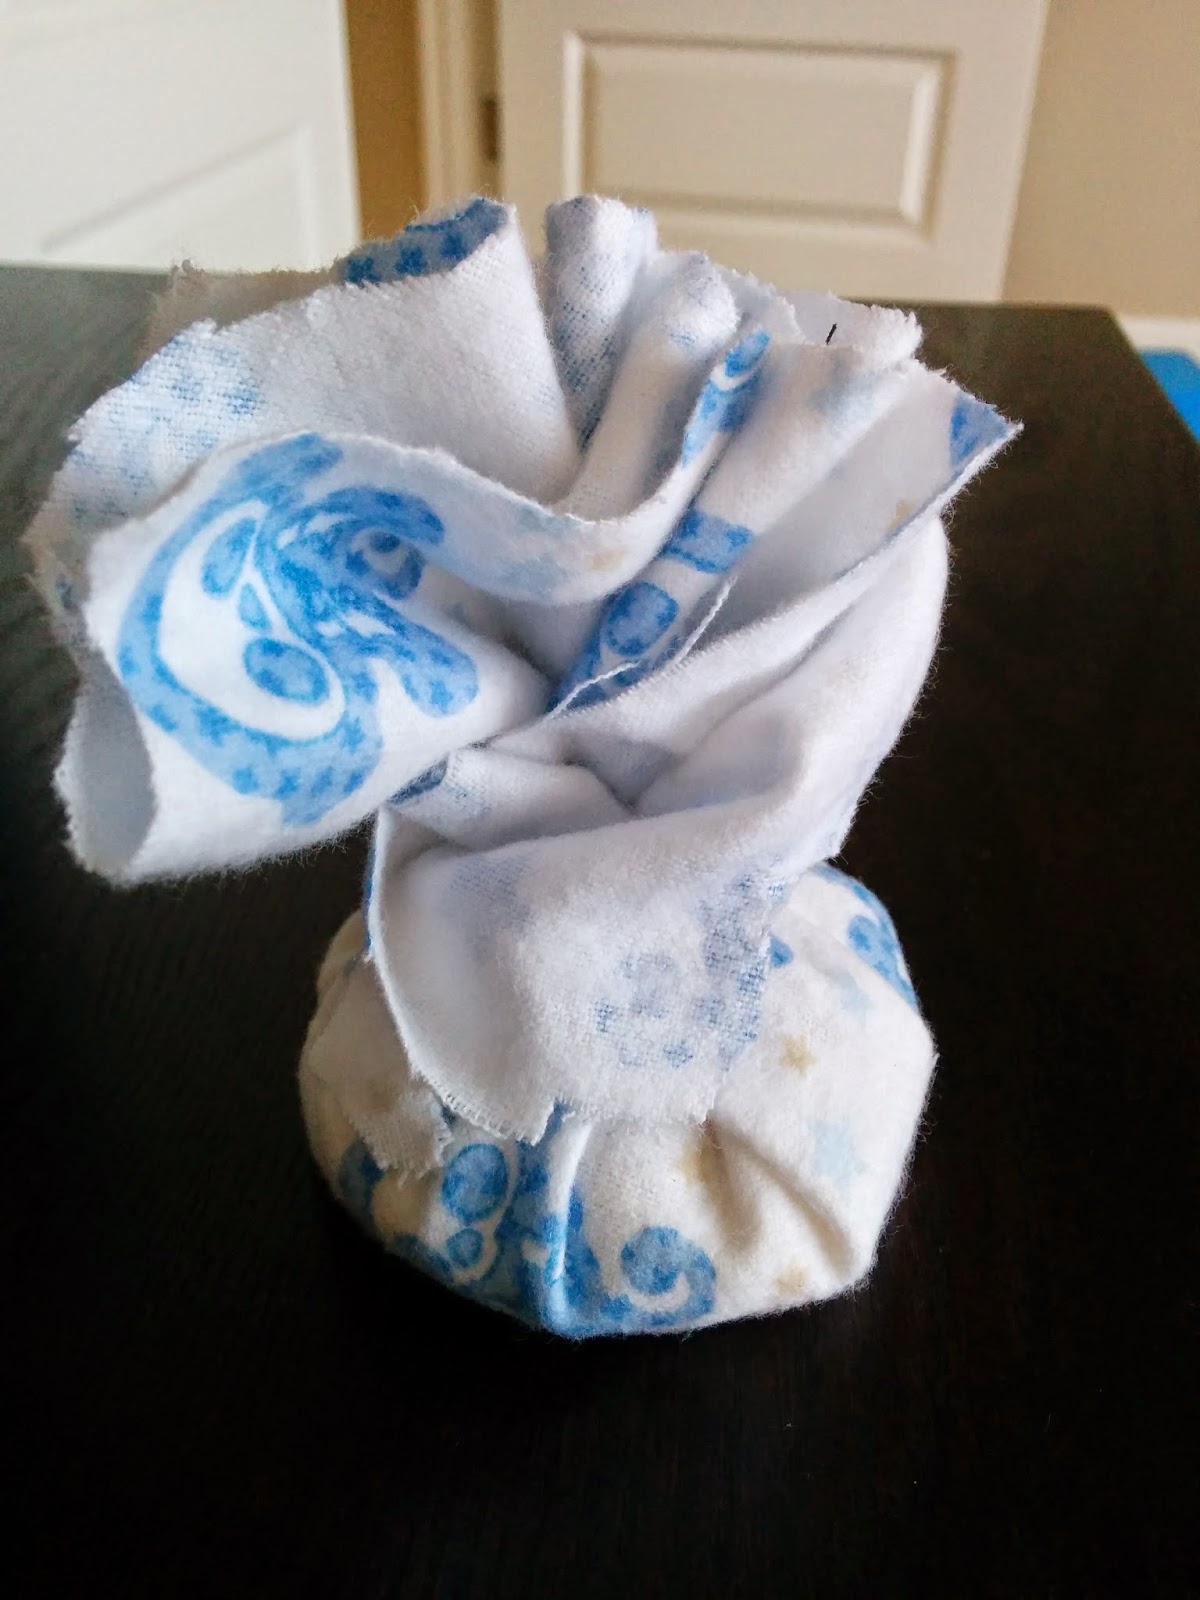
You can make a "rice dumpling" by cutting a square of cotton cloth (quilting squares are cheap and easy to find at any fabric shop) filling it with uncooked rice and tying it into a bundle with a strip of your cloth. Alternatively, put the rice in a cotton sock and tie off the top of the sock securely. Don't use synthentic fiber socks (polyester etc) if you don't want your microwave to catch fire.

Step 1: Prep your nails by washing and drying your hands thoroughly. Then use a cotton dipped in Alcohol to clean your nails. Make sure there's no residual cotton fibers on your nails from the alcohol. (Optional: Use a cuticle remover as directed, I like Sally Hansen's) Push your cuticles back with a cuticle stick.
DO NOT SKIP THE ALCOHOL STEP. If you do you may have issues with the adhesive not sticking to your nail well and have bubbling along the edges and premature lifting of the wrap.

Cut the entire sheet of wraps directly down the middle for easier application. One half of a sheet is enough for one manicure and one pedicure.
 |
| One half of a Jamberry sheet |
 |
| Cut in half again |
Step 2: Take your Jamberry sheets and lay them over your nail to figure out which fits what nail. Unless your nails are very long, each wrap can be cut in half to save the rest for another manicure.

 |
| Cut the wrap you are about to apply from the strip and trim it down if needed before pulling it off the sheet |
Step 3: Put the rice dumpling into the microwave for about 25 seconds. It should be just uncomfortably hot but not burning.
Step 4: Lay the selected wrap onto your nail, making sure to leave a little room between the wrap and the cuticle, aligning it so its straight on your nail, and press it into place, pushing to remove what bubbles you can. There will be some extra that hangs over the tip.
.jpg) |
| Try to keep it straight as possible and smooth out the bubbles |
 |
| Wee bit of over hang that we will get rid of shortly |
Step 5: Take the hot rice dumpling and starting with dabbing motions, press and smooth it over the nail, stroking down toward the end of the nail and over the tip. You want to use the heat to bond it to the nail, and the pressure to help get rid of any last bubbling.
 |
| Much better now that it's bonded to the nail bed |
Step 6: Using your nail file, file away the excess at the tip of your nail using up down strokes while holding the file directly perpendicular to your nail. This is important to avoid damaging the design with the traditional sawing back and forth motion.
 |
| File up and down, and pretend I'm holding the file with my other hand instead of taking a photo |
 |
| Voila! |
Repeat for your other nails, and that's it!
No comments:
Post a Comment