A friend of mine recently became a Jamberry retailer and gave me a couple of samples to try out. Being the product whore that I am, I figured what better time to try out the other brands and really test out to see if its worth it.
I love nail polish and having my nails look pretty. Being a mom to two active boys, it is REALLY hard to get the time to paint them, wait for them to completely dry and rinse repeat every 3 or 4 days when the polish starts to chip. After a while my nails start getting brittle and yellowed from the constant layer of polish and use of polish remover on them. The smell of nail polish and nail polish remover always gets a lot of complaints in my house hold as well.
 |
| Nail polish chipping after 3 days, wraps no chips! |
Paying $20-30 for a manicure at a salon gets pretty expensive fast.
I love the idea of doing a wrap on my nails where they get a break from polish, zero dry time, and no chipping!
On the docket today:
Kiss Nail Dress: $6.99 for 28 wraps (approx 3 manis) - 4 designs @ the drugstore
Sally Hansen Polish Strips: $9.99 each for 16 wraps (approx 2 manis) - 4 designs @ the drugstore
Jamberry Nail Wraps: $15 each or buy 3 get 1 free (4 for $45) $11.25 each for 18 wraps (approx 2 manis and 2 pedis) - 300+ designs and ability to design custom wraps
 |
| Nail wrap Battle Royale! |
The first two you can buy at any drugstore, the Jamberry wraps you buy from a consultant but more on that later. You can cut the strips in half if your nails aren't very long and stretch out the package to get another manicure out of it, but you'll see soon some weren't worth the trouble.
All three styles benefit from prepping your nails in the same way before applying so that you get the best adherence to the nail. Wash your hands and dry them well, soak a cotton pad in alcohol and wipe down the nail beds to remove any oils. Use a cuticle stick to push your cuticles back and file your nails so there are no raggedy edges and are the basic shape you want for your nail.
KISS NAIL DRESS
These were the least expensive kind of wraps at the drugstore. I saw about 4 different designs and thought they were super cute. I was most excited about these cause I love me some cheap alternatives to salon manicures. Unfortunately, these were god awful. Out of the three brands, they had the most stretch to them when applying. These do not bond to the nail bed well, and as a result have a lot of trouble with bubbles and securely sticking to the nail.
 |
| Cute design, awful wrap, bubbling on both sides of nail |
.jpg) |
| Shrinking away from the nail tip after 1 day! |
.jpg) |
| Serious shrinkage! Dry hands too ugh! |
After a day or so they would shrink back from the tip of your nail which looks really bad. They were only a slight step above putting regular stickers on your nails. Waste of money, do not bother. So much for the cheapo option being a good mani replacement - these seriously were terrible. These are removed by peeling the wrap right off like a sticker, and peel them I did.
SALLY HANSEN Salon Effects Real Polish Strips
There were about 4 designs at the drugstore, 2 were really ugly and this was the least busy of them all. Applying this brand was kind of tricky. The wrap did not have much stretch to it and getting it over the tip of the nail and trying to bond it around the edge was difficult. I was most frustrated applying these but realized that the wraps were better bonded the next day (wha?). The bubbling problem I had with the KISS wraps was minimal. There was wonkiness at the edges but no shrinking and they seem to wear pretty well.
.jpg) |
| See the weird bit at the tip of my index finger? |
.jpg) |
| Pretty cute manicure over all tho! |
Since this is an actual strip of nail polish, I'd recommend putting a top coat over it and sealing the tip of the nail to make it last even longer on your nail. You can squeeze out about 7 days from this brand if you aren't too hard on your nails. This gets removed with regular nail polish remover. Between the two drugstore brands this one is better option, just work past the application fussiness.
These blew the other two brands out of the park honestly. When I first tried them out, my friend Ashley gave me a couple strips to test out and there is a learning curve to putting them on. I had a bit of trouble with bubbling along the edges and getting them to adhere to the nail tip. My first reaction was ehhhh.
After I tested out the other two brands I came back to Jamberry again to give it a fair shot since I had been able to practice with the others. She gave me another set of test wraps and after a bit of watching application videos on YouTube, I gave them another go. Holy crap these are awesome.
 |
| Sample wraps in super cute designs! |
These are vinyl wraps which become more malleable and bond to the nail after being heated up. The instructions tell you to use a blow dryer or the Jamberry heater (of course another purchase right?) to warm them up for a few seconds until they are flexible, apply them to the nail and then use a cuticle pusher to work out any bubbles. Pull the strip over the tip of the nail and press it down to the nail to bond the strip to the nail, and file away the excess using vertical strokes to avoid damaging the design of the wrap. This didn't work well for me. I found the whole blow dryer thing to be a bit of a pain, and I wasn't going to buy a dryer. (ha! you kidding me?!)
Here's the best method I've found to putting these things on well, and they last 2 weeks easily on your nail (you will change them out due to your nail growing away from your cuticle before any wear issues):
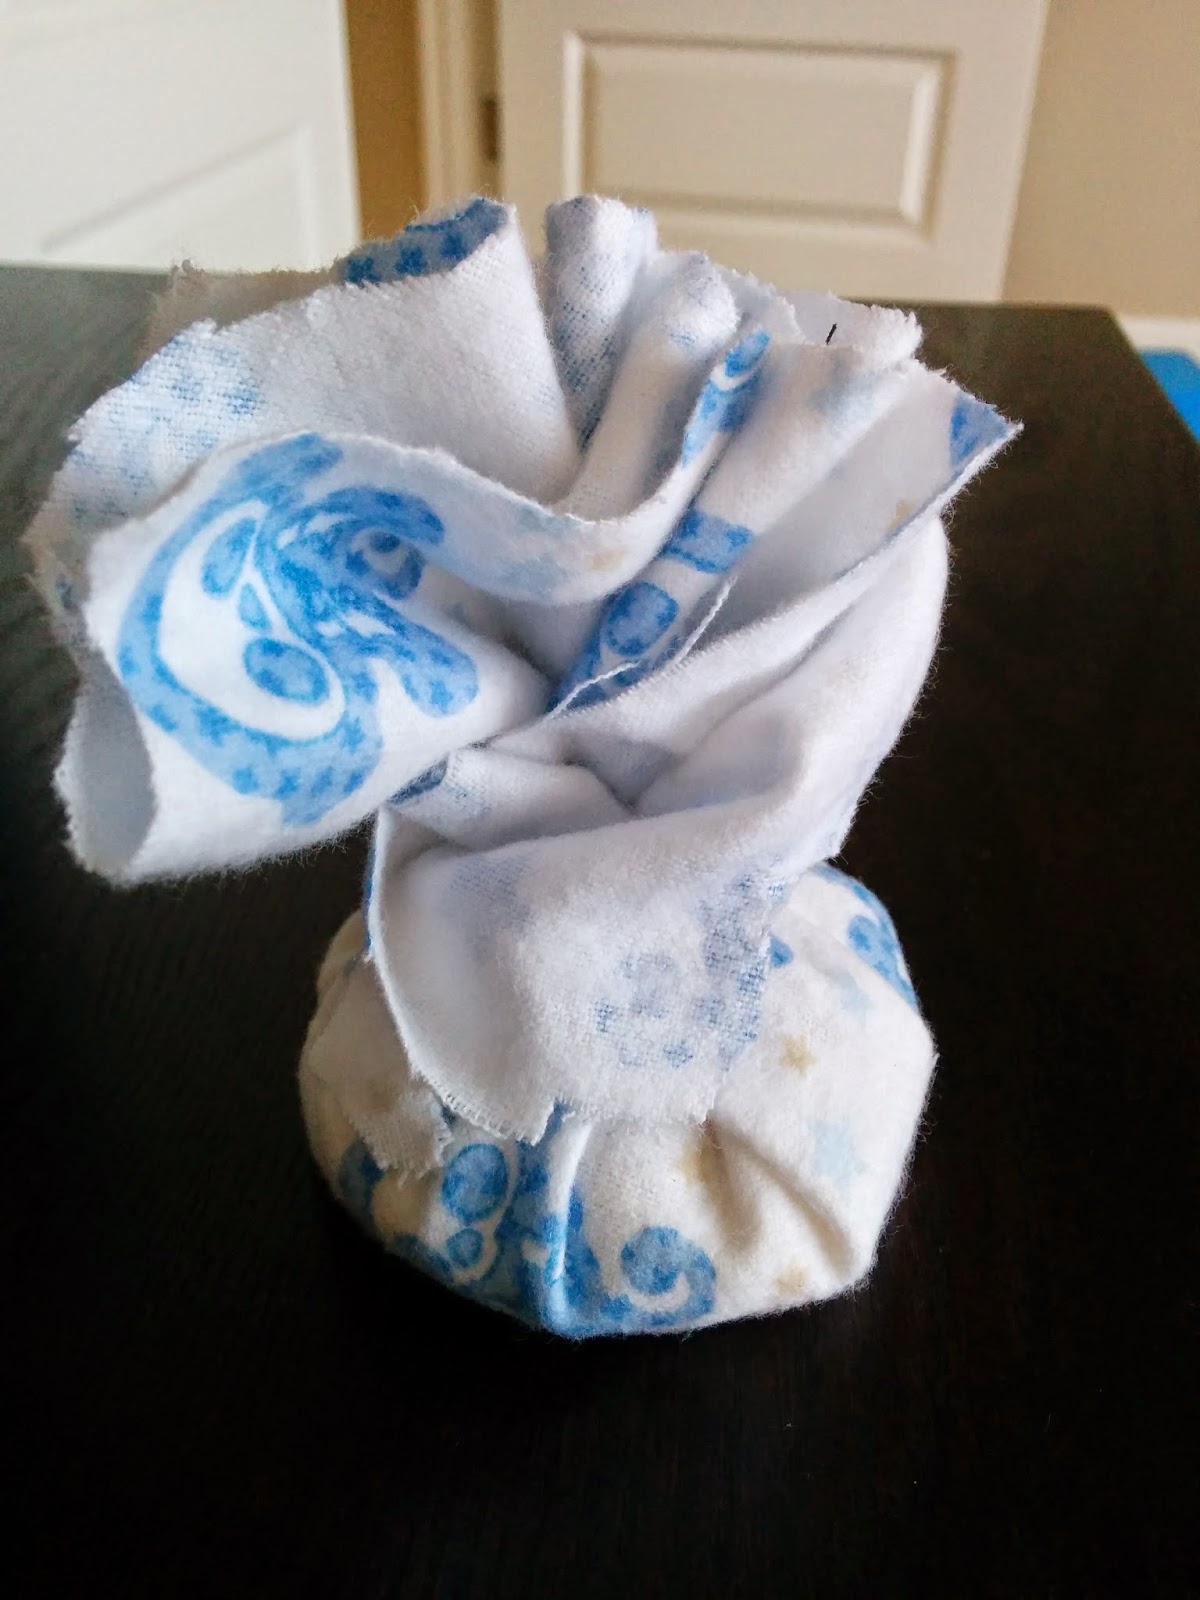
Match up the wrap to the nail that fits. Put a cup of uncooked rice into a cotton sock (no polyester blends please!) and tie the end up, then microwave it for 20 seconds. The sock should be pretty warm, just bordering on uncomfortable but not burning hot. I made my rice heat thing out of a scrap of flannel and tied it like a wee dumpling.
 |
| Hot rice to bond your wraps! |
Apply the nail wrap slightly above your cuticle, (it wont bond well if it's sticking to skin) and press it down with your finger, trimming off the excess leaving it just a bit longer than your nail tip. Then use the hot rice sock to press and dab over the nail to warm up the wrap. It will make the wrap become like shrink wrap, and keep pressing and dragging the sock downward over the nail to squeeze out any bubbles.
Let your nail cool off to allow the adhesive to bond. Then go over it with the hot sock again to smooth out any remaining bumps or bubbles, paying particular attention to the tip of the nail as well as the edges. You want a really good bond so that it won't start to peel in a week.
You should now have a bit of excess that is folded over the tip of your nail. Use a nail file and file straight up and down against the tip of your nail to shave off the excess from the end of your nail.
These can be removed by peeling off the wrap, or using a bit of nail polish remover to soften the adhesive if you want to change it before the bond starts to wear down. I'd say you can get easily 2 weeks of wear from one manicure before your nail grows long enough for it to look a little funny. No chips the whole time tho! Try to say that with regular manicures.
 |
| Jamberry mani in Raspberry Sparkle with Teal Mini Polka on the accent |
You can barely tell that this is not a traditional polish manicure, and within 3 minutes of finishing the last nail I was on my computer typing up the last of this post. Try that with regular polish and not smudge it.
I am glad I came back and gave these a second shot after my first application because the way I described above was so easy, super quick and I had to text Ashley that she'd gotten me hooked. I made the mistake of looking at the catalog she left me and there are 300+ wrap designs. 300! And they even have "
Mommy and Me" designs with mini version for the little girls in your life. I am totally gonna be the most awesomest aunt EVER. I was a little worried that all the designs would be super busy looking like the samples I got to play with but you have such a huge range of designs to choose from and even lots of solids that just about every taste can be accommodated. There are even some U of WA wraps for you Husky ladies out there.
I ended up ordering a few and by the time I finished testing for this blog post, I was OBSESSED.
With the 18 wraps (which you can cut in half if you have short nails) you can get 2 manicures, and 2 pedicures for $15. This comes out to about $3.75 per mani/pedi compared to a $25 salon manicure. The number of designs, ease of application and removal, no damage to my natural nails, pretty much has me sold on this one. There is even a special if you buy 3 wraps you get 1 free so they end up being $11.25 per wrap which is barely above the cost of the Sally Hansen polish strips.
The best drugstore alternative was about $10 for a set of Sally Hansens which gives you maybe 3 manicures manicures for about $3.33 per manicure. Since there were only a few designs available with this brand, and the finickiness of the application, the drugstore brand came in a distant second.
I loved these enough to sign up as a Jamberry consultant and will have a step by step application tutorial up next. Wheeee excited! Here's that
tutorial!
If you are interested in checking them out, head to my
Launch Party and join in! Shoot me an email or leave me a message on Facebook if you'd like to try out a free sample.
.jpg)
.jpg)


.jpg)


